Tuesday, February 28, 2012

Quick & Simple Card

This is another card made using a card map.  I took a black card, topped it with Creative Memories patterned paper and used half of a Go Kreate Large Frame / Frilly #2 die cut out of black paper.

I finished it off with a vertical piece of patterned paper and black bow.  The sentiment is from the Stampin Up set called On Your Birthday and it was die cut using Clear Dollar Tabs and Tags.

Sunday, February 26, 2012

Stella & Rose - Mabel "So Sweet" Stamp

I have never really looked at or followed card sketches but after seeing an idea for a card sketch book I thought I would look into it.  Becky Fleck's Page Maps are a wonderful source of inspiration and the card today is from one of her card sketches.

The background is a new Hero Arts Stamp called Newspaper Background which I stamped using Sepia Archival ink.  On the mustard colour piece of cardstock I pierced the stitch holes using a Stampin Up template and did faux stitching with a brown Momento marker.  A Stampin Up scallop border punch was used for the right hand side trim.

The birdcage stamp is from Stella & Rose - Mabel "So Sweet" and the bird is from an Inkadinkado set.  I used Staz On ink for both of these stamps.  After die cutting the image with Spellbinders Petite Scalloped Circles I extended the chain on top of the birdcage drawing ovals by hand.  The sentiment is from a Stampin Up set called On Your Birthday and I stamped only the bottom part of one of the stamps.  It was die cut using a Sizzix / Hero Arts die called Small Tag Frame which I bought earlier on this week from Simply Creative here in Cape Town.

Thursday, February 23, 2012

Kaszazz - Hibiscus Border

After putting my Copics one side for a while I thought they might be ideal for this Kaszazz image.  I am quite pleased with the way the colouring in turned out.

I used an ivory coloured card, topped it with a sticky mesh which I found in my stash and finished it off with a Cuttlebug sentiment and border.  The image was easy to cut out and I am happy with the finished product.

Tuesday, February 21, 2012

Kaisercraft - Duchess Clear Stamp

I do not have much in the way of Kaisercraft stamps but when I saw this one over at Simply Creative I thought it may have potential.  Using maroon Archival ink the image stamped out first time.  I then die cut it with Spellbinders Labels Twenty.

The sentiment is from Gina K Designs Tag Lines set and it was die cut with Clear Dollar dies.

Sunday, February 19, 2012

Flourishes - Kids Play - boy

This card has been on my desk for a while now.  I am not that wild about it but at the moment I have no other finished project.

Using the Flourishes Kids Play set and black Archival ink I die cut the image with a couple of Spellbinders Circles.  The sentiment is from the same Flourishes stamp set and it was die cut with Clear Dollar Tabs and Tags.  I thought the water could do with a bit of colour but got a little carried away with the shade.

Thursday, February 16, 2012

Kaszazz - Cherish & Dream

Last week we stayed in a cottage which had the most unusual paintings on the walls.  They had an aged newspaper background and beautiful artwork painted over it.  This gave me an idea for the background on a set of cards.

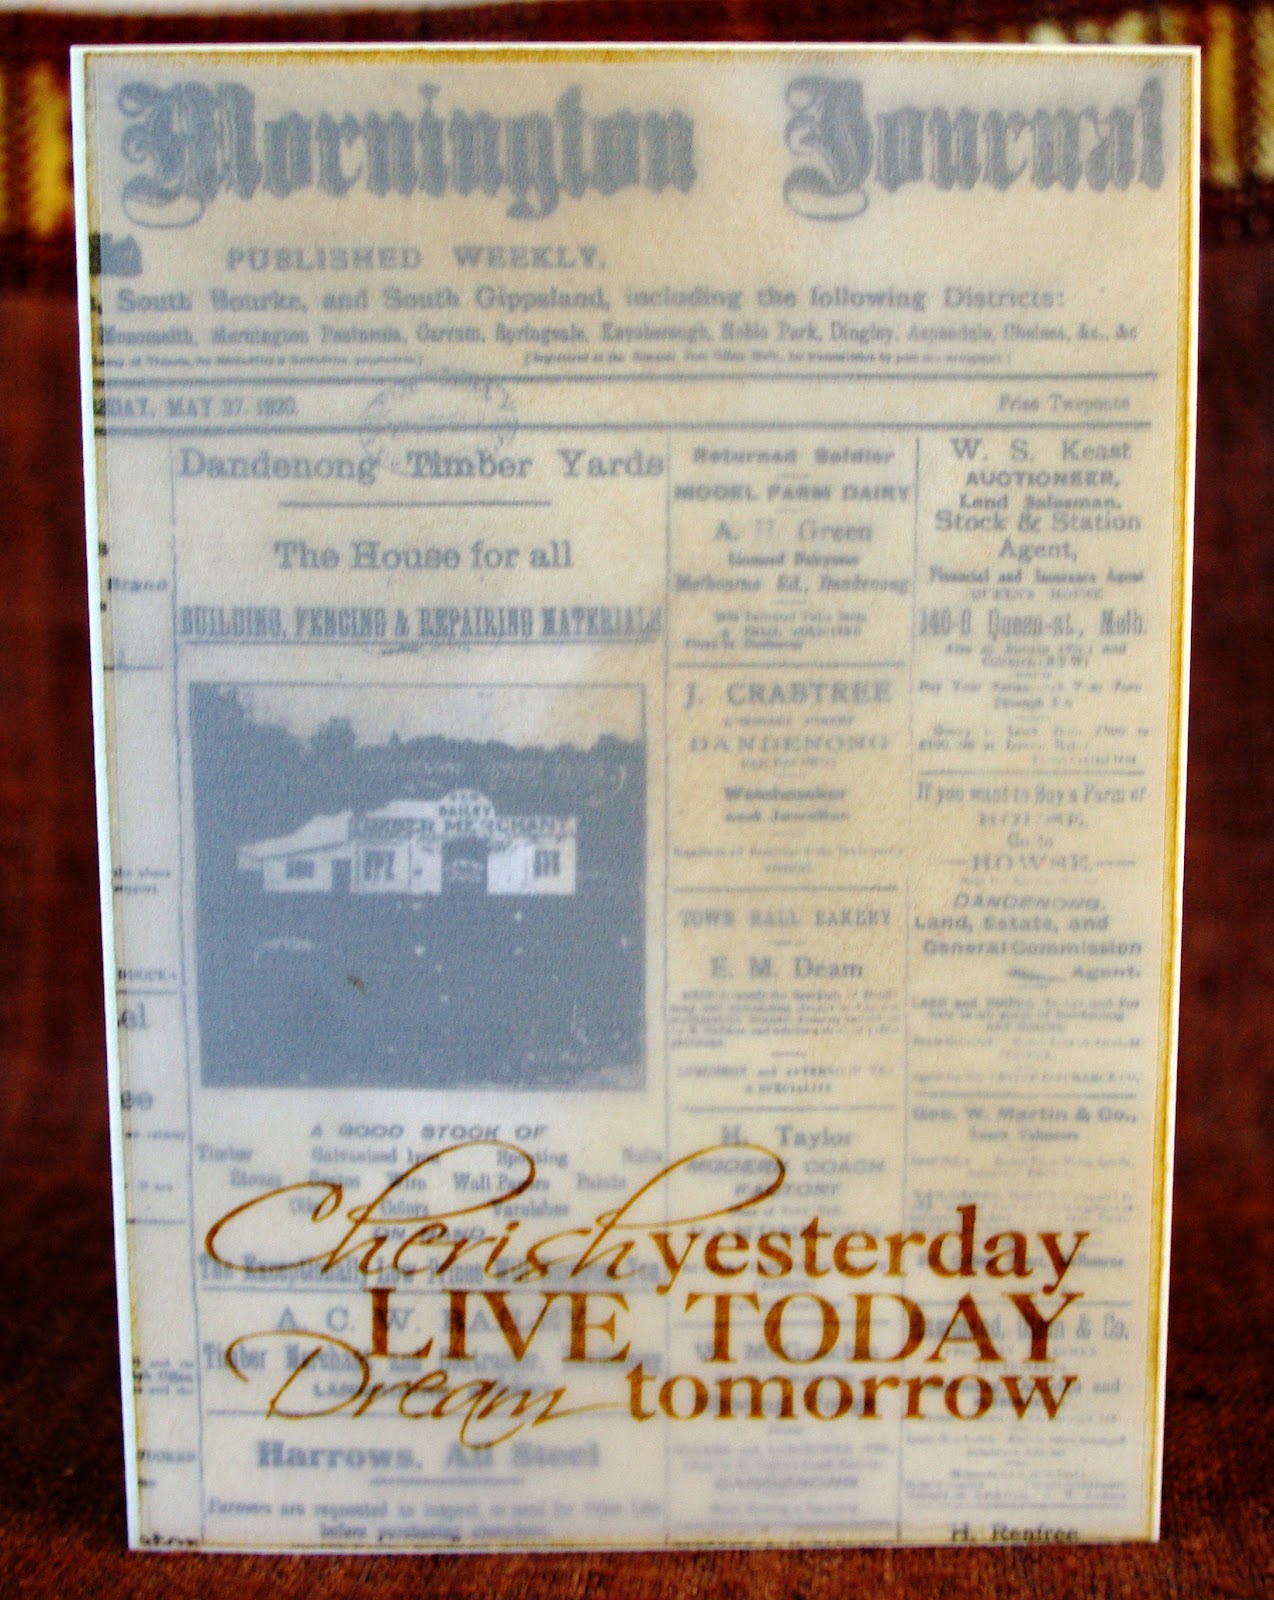
I searched on the internet for old papers and could not find any free South African ones but thought an Australian one would be the next best bet.  I printed a couple of pages out, cut one down to size and Distress inked it.  I then layered a type of vellum I had in my stash and stamped the Kaszazz Cherish & Dream sentiment in Coffee Archival ink onto it.

For the inside I used a smaller piece of the newspaper I had over and also Distress inked it with Antique Linen and Brushed Corduroy.  On the right hand side I die cut from a Spellbinders Grand Labels 11 using my trusty x-rays to create a template.  Using Brushed Corduroy again I sponged around the edges.  I think I am going to cut out a whole lot more templates using my old x-rays and Spellbinders dies.  The sponge applicators work well on them and it gives a quick and easy insert.

Tuesday, February 14, 2012

Inkadinkado - For the Birds

Although I am not a bird person I seem to have a number of bird stamps.  My main problem is what colours to use for the birds. On this one I decided to colour them in my own choice instead of trying to research what type of birds they are, look them up on the internet and get what colour they are supposed to be.  From here on out I am taking artistic license with birds - they are going to be all different colours !

The background is a Stamposaurus stencil on which I used Antique Linen Distress ink and a stencil brush.  The sentiment is from a Clear Dollar set called Something to Crow About and it was punched out using the Stampin Up Word Window punch.  The image was coloured in using a blender pen and markers.

Sunday, February 12, 2012

Tim Holtz Components Collection - Flutter

I managed to get my hands on a couple of Tim Holtz Components Collection stamps and decided to use this one for another simple card.  The image is stamped using Archival Cobalt ink and I used a variety of Distress inks to give it a bit of colour.

The stamp fits into a Spellbinders Deckled Edge Rectangle and I popped the image onto an embossed card front.  The sentiment is from Clear Dollar Something to Crow About and has been framed with Stampin Up punches.

Thursday, February 9, 2012

Stampin Up - Engraved Greetings - Birthday

Apologies for being absent earlier this week.  Had computer problems and then went away for a couple of days. 

This is another card using the Stampin Up set Engraved Greetings.  The sentiment is die cut using Spellbinders Deckle Edged Rectangles in 2 colours with the border being from an old Cuttlebug cut and emboss die.

Thursday, February 2, 2012

Flourishes - Kids Play - girl

I find the key to making quick and simple cards for me is to identify a stamp set, in this case Flourishes Kids Play and make a couple of cards from the various images in the set. 

This image did not stamp out as well as I had hoped and I used a black marker to go over the parts which were a bit too light.  I think I have a problem with pressure on some stamps so perhaps I was to blame this time.  I used Distress inks - Peeled Paint and Bundled Sage for the grass and cut out the image using a Spellbinders Circle.  The die using the green cardstock behind the circle is from Spellbinders Lacey Circles.

The sentiment and the die used to frame it is from Whimsy Stamps.  The die is Notables 2 and the sentiment set is Friendship Notables 2.