This Flourishes Gerbera Daisies image is timeless and a real pleasure to colour in. As I needed a fuller vase I used the stamp one and a half times - a full stamp and then on the second one I used only the right hand side of the image.
Using Momento ink I stamped the images onto Neenah paper and cut them out. I used the following Copics to colour in with :
Stems G99 / G94 / G21
Orange daisy YR18 / YR16 / Y35 / Y23
Yellow daisy YR02 / Y13 / Y11 / Y000 / Y15 / Y19
Pink daisy RV34 / RV32 / RV10
The background paper is Fabscraps Burlesque Cocktail and the green circle made with a Go Kreate Plain Circles die is from the Ranger Distress Collection. The "foliage" used in the vase is from the Marianne D Leaves and Branch Forest dies. The sentiment is from the Hero Arts Good Friends set and it it on a SU Sizzlets Lots of Tags die. The vase posed a bit of a problem until I saw my Spellbinders Nested Owls die. I cut out the full die and severed the owl head like this :
I then turned the die upside down so that the feet are facing up and popped the head part at the back of the feet. It just goes to show that all is not lost when you do not have the die you are looking for - one can always make a plan !


.JPG)
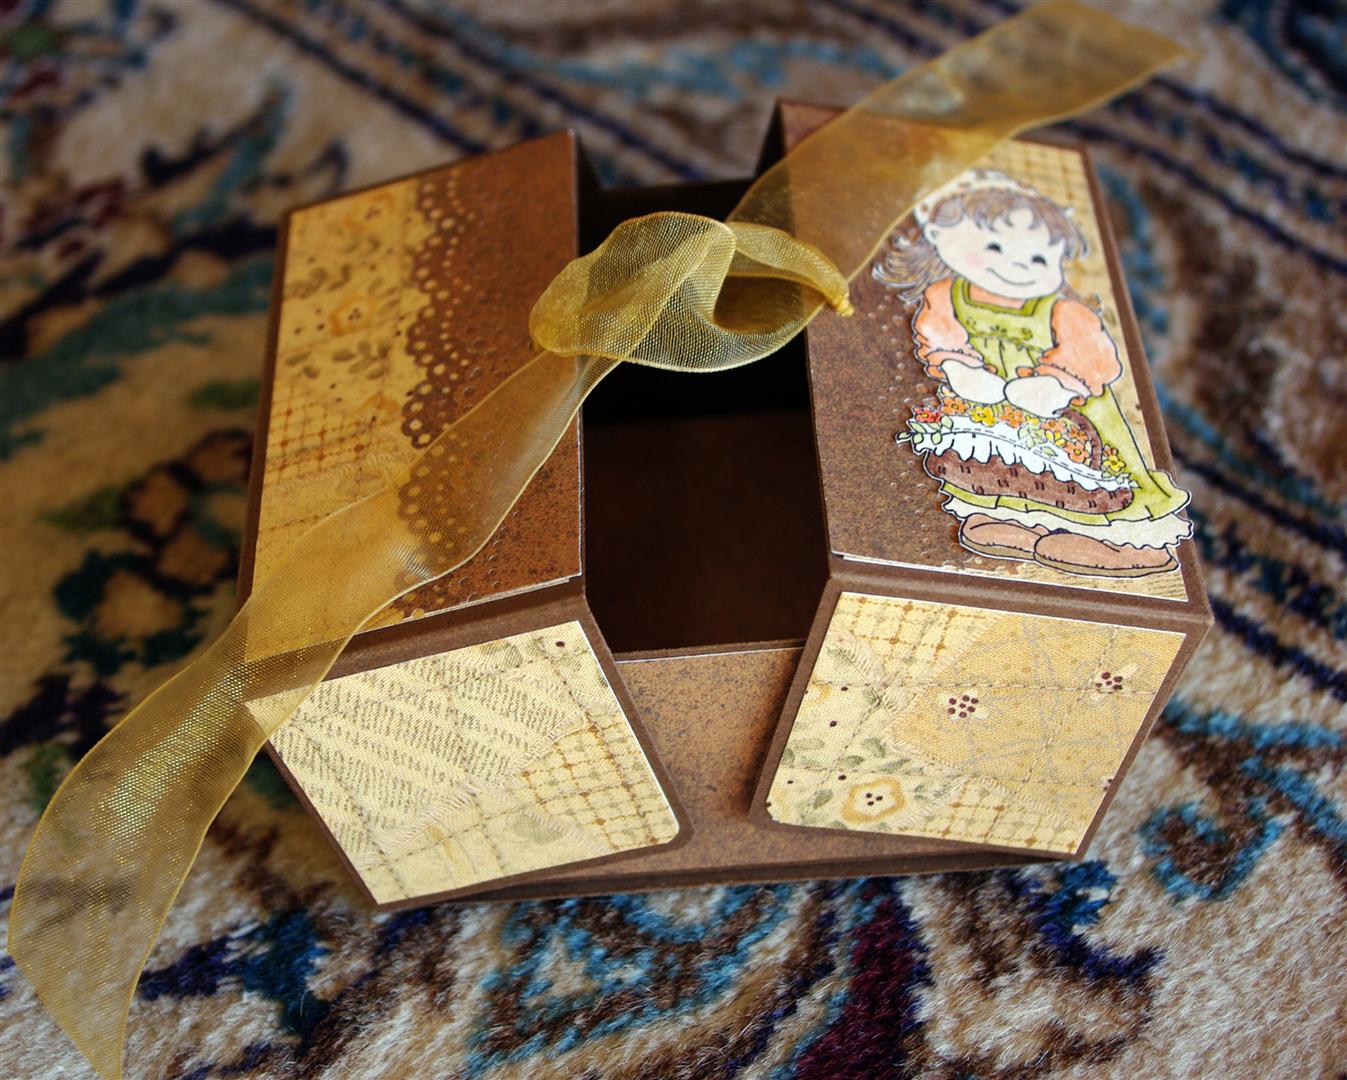
 Back when I was still buying paper craft magazines this cute no name stamp came with an overseas one. I used Nestabilities Labels Six to mat the image onto and coloured it in using Copics.
.JPG)
.JPG)
.JPG)

.JPG)

.JPG)


.JPG)
.JPG)


.JPG)
.JPG)
.JPG)
.JPG)
.JPG)
.JPG)
.JPG)

.JPG)
.JPG)
.JPG)
.JPG)
